Solar Installation Services in 2026: The Complete Step-by-Step Process
Most homeowners imagine solar installation as a single afternoon of drilling panels onto a roof. The reality is a structured, multi-stage engineering process — and understanding it helps you spot a professional crew from a careless one. Reliable solar installation services follow a repeatable workflow that protects your roof, your wiring, and your investment.
This walkthrough demystifies each stage so you know exactly what should happen from the first phone call to the moment your meter starts spinning backwards. Whether you are in Lahore, Karachi, or Rawalpindi, the sequence below is the standard every quality installer should follow in 2026.
Stage One: Site Survey and Load Assessment
Everything starts with data, not sales talk. A technician visits your property, measures usable roof area, checks orientation, and studies shading from nearby buildings or trees. Simultaneously, your last twelve electricity bills are analysed to model real consumption.
This assessment produces the single most important number in the whole project: the correct system size in kilowatts. Get this wrong and you either overpay for unused capacity or undersize and stay tied to expensive grid power. Professional solar installation services never quote a system without this audit first.
Why Roof Orientation Decides Your Yield
In Pakistan, a south-facing roof tilted around 30 degrees captures the most annual sunlight. East or west roofs still work but generate slightly less. A good surveyor models these angles rather than guessing, so your production estimate reflects reality.
Stage Two: System Design and Component Selection
With the survey complete, engineers produce a design: panel layout, string configuration, inverter placement, and a single-line electrical diagram. This is where component quality is locked in. High-efficiency monocrystalline solar panels in Pakistan deliver more watts per square metre, which matters on smaller urban rooftops where space is tight.
The design also specifies protective gear — DC isolators, surge arresters, and correctly rated cable. Skipping these to shave cost is the hallmark of an amateur.
What Happens on Installation Day?
Installation day is where planning becomes hardware. A competent crew follows a disciplined order of operations:
- Mount the roof rails and flashing, sealing every penetration against leaks.
- Fix the panels to the rails with proper torque on every clamp.
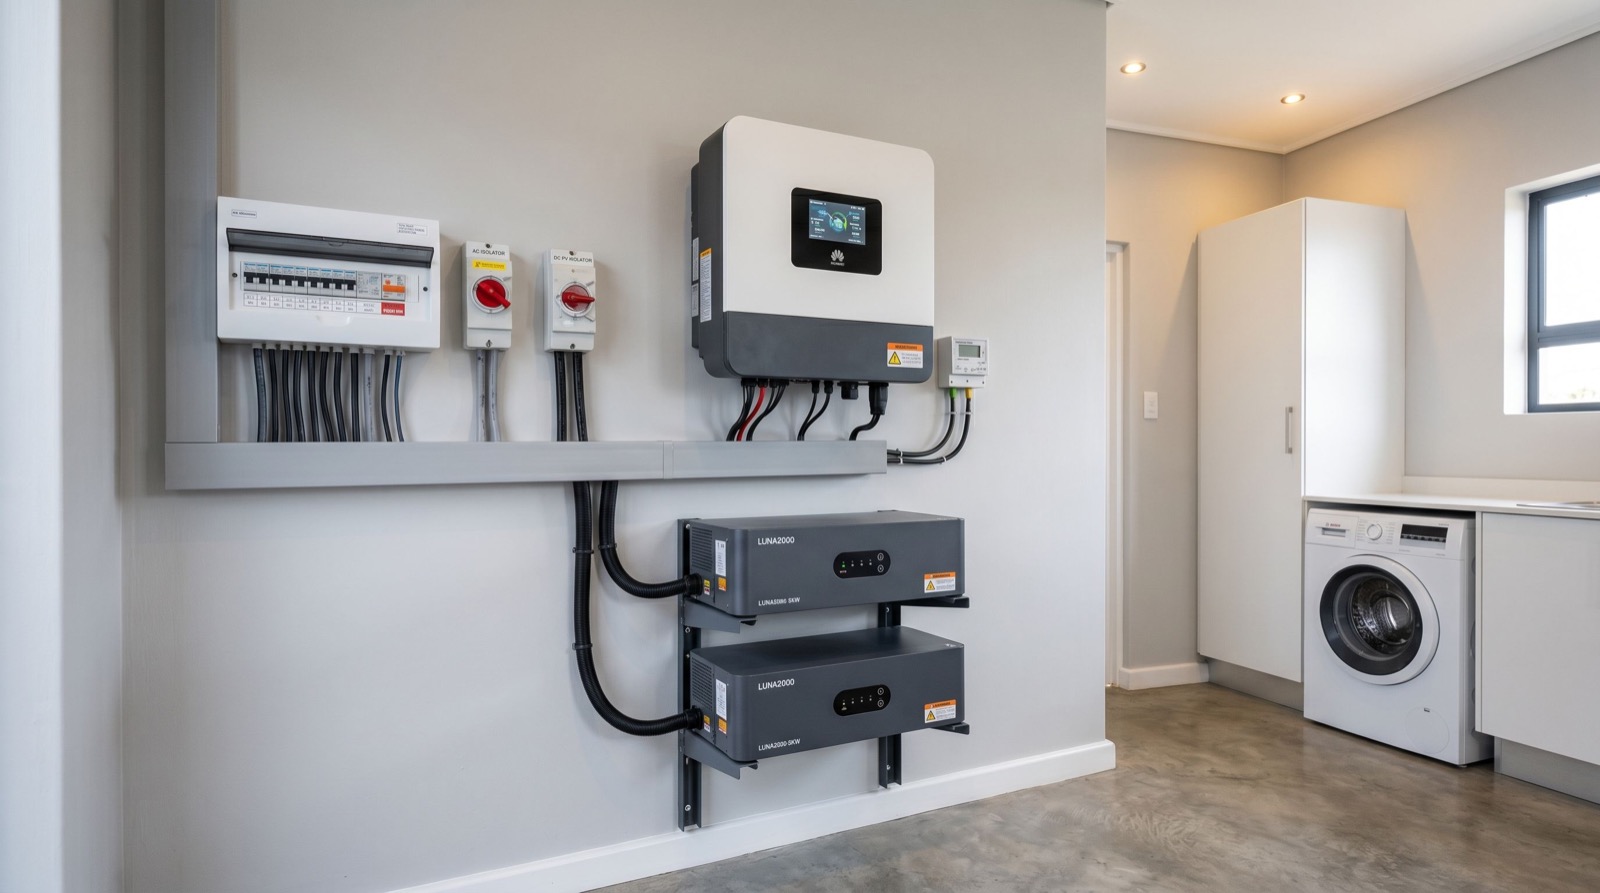
- Run DC cabling in conduit down to the inverter location.
- Mount and wire the inverter, then connect battery storage if included.
- Complete earthing and bonding for lightning and fault protection.
- Terminate the AC side into your distribution board.
A typical 5–8kW residential job takes two to three days with a trained team. Rushing it into a single day usually means corners were cut somewhere you cannot see.
Stage Three: Testing and Commissioning
Before the system is declared live, engineers run commissioning tests: insulation resistance, string voltage, inverter configuration, and a full functional check of the automatic transfer between solar, battery, and grid. Each panel string is verified to confirm none underperforms.
| Stage | Typical Duration | Key Output |
|---|---|---|
| Site survey | 1–2 hours | Correct system size |
| Design | 2–4 days | Layout + diagram |
| Physical install | 2–3 days | Mounted, wired system |
| Commissioning | Half a day | Verified performance |
| Net metering | 3–8 weeks | Bidirectional meter |
Stage Four: Net Metering and Handover
The final stage connects you to the grid legally so surplus energy earns credit. Your installer files the net-metering application with your distribution company, which inspects the system and swaps your meter for a bidirectional unit. The framework is regulated nationally, and you can read the approved standards on the NEPRA official portal. For independent efficiency benchmarks on modern PV modules, the U.S. Department of Energy’s Solar Energy Technologies Office is a solid authoritative reference.
At handover you should receive warranty documents, wiring diagrams, and a walkthrough of the monitoring app.
What Ongoing Maintenance Looks Like
Good installation services do not vanish after commissioning. Solar systems are low-maintenance, but they are not zero-maintenance, particularly in Pakistan’s dusty urban air. A thin layer of dust on panels can shave several percent off output, so periodic cleaning matters.
Reputable installers offer annual check-ups covering panel cleaning, connection tightness, inverter health, and a performance review against the original generation estimate. Ask whether such a plan is included or available before you sign — long-term support separates a genuine service company from a one-and-done crew.
Monitoring Your System Remotely
Modern inverters stream live data to a phone app, showing daily generation, consumption, and battery status. Learn to read it. A sudden drop in output often signals dust, a shaded panel, or a loose connection you can flag early. This visibility turns you into an informed owner rather than a passive bill-payer.
Budgeting and Payback Expectations
Understanding the numbers keeps expectations realistic. The table below outlines rough residential payback drivers in 2026.
- System size: Larger arrays cost more upfront but offset more expensive grid units.
- Battery inclusion: Storage adds cost and lengthens payback but delivers outage backup.
- Consumption pattern: Homes with heavy daytime use see the fastest returns.
- Net metering: Exporting surplus accelerates payback significantly.
A typical grid-tie residential system recovers its cost in roughly four to six years, then delivers near-free power for the remaining panel lifespan of two decades or more.
Signs You Hired the Right Crew
- They surveyed before quoting a single rupee.
- Every roof penetration is properly flashed and sealed.
- Cables are neat, conduited, and labelled.
- They handed over commissioning test results in writing.
- They explained the monitoring app instead of just leaving.
These small signals reveal craftsmanship. Booking trusted professionals from the outset saves you from expensive rework down the line.
Frequently Asked Questions
How long do solar installation services take from start to finish?
The physical installation takes two to three days, but the full journey — survey, design, install, and net-metering approval — usually spans four to eight weeks, mostly waiting on the utility.
Will installation damage my roof?
Not when done properly. Professional crews use engineered mounting with sealed flashing that prevents leaks. Damage almost always comes from untrained installers skipping waterproofing steps.
Can I add batteries later instead of at installation?
Yes, if your inverter is hybrid-ready. Many homeowners install grid-tie solar first for fast bill savings, then add storage when budget allows.
Do I need to be home during installation?
You should be present at the start to confirm placement and at handover for the walkthrough. The crew handles the middle stages independently.
Ready to Go Solar?
Quality solar installation services turn a pile of expensive hardware into a system that quietly saves money for twenty-five years. The difference lies entirely in process discipline — survey, design, careful installation, and thorough commissioning.
If you want that done right the first time, arrange a proper site survey with a certified installer this month. A single free audit is all it takes to get an accurate quote and a clear path to lower bills in 2026.